How To Install Proxmox
This guide will be showing you how to install Proxmox onto your desired machine and will outline the steps performed and outline any issues you may have
what is required?
Key Requirements:
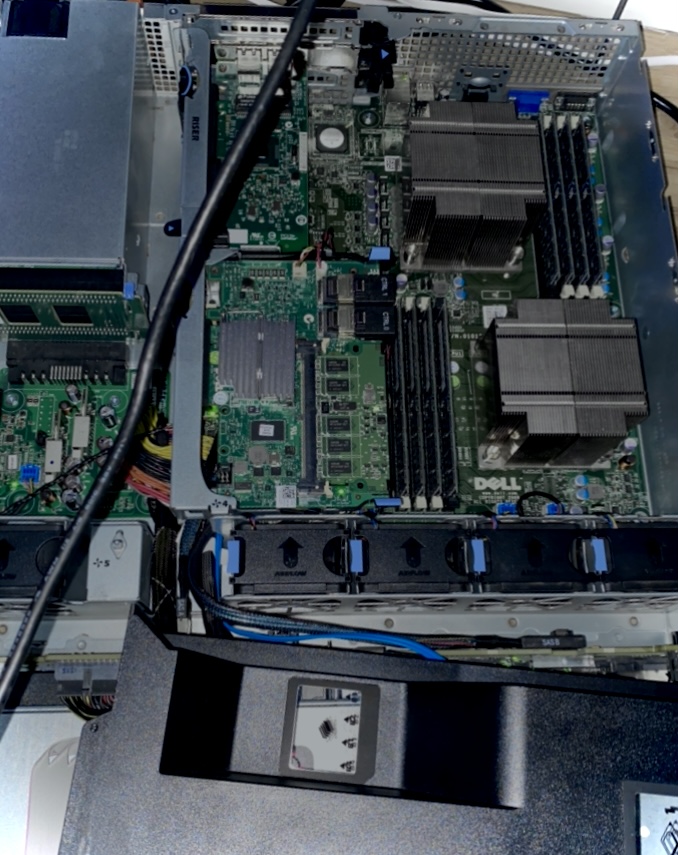
A system capable of running Proxmox
At least a 2gb Usb Stick
Rufus
System Requirement’s:
Intel EMT64 or AMD64 with Intel VT/AMD-V CPU flag.
Memory, minimum 2 GB for OS and Proxmox VE services. Plus designated memory for guests. For Ceph or ZFS additional memory is required, approximately 1 GB memory for every TB used storage.
Fast and redundant storage, best results with SSD disks.
OS storage: Hardware RAID with batteries protected write cache (“BBU”) or non-RAID with ZFS and SSD cache.
VM storage: For local storage use a hardware RAID with battery backed write cache (BBU) or non-RAID for ZFS. Neither ZFS nor Ceph are compatible with a hardware RAID controller. Shared and distributed storage is also possible.
Redundant Gbit NICs, additional NICs depending on the preferred storage technology and cluster setup – 10 Gbit and higher is also supported.
For PCI(e) passthrough a CPU with VT-d/AMD-d CPU flag is needed
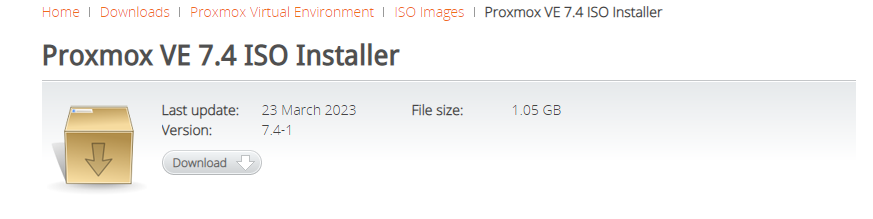
Step One: Download
Go to https://www.proxmox.com/en/downloads/item/proxmox-ve-7-4-iso-installerve-7-4-iso-installer and download the ISO File

you will also need to install Rufus which can be downloaded from here: https://rufus.ie/en/ after you have installed both of the software linked move on to step two
Step Two: Creating the Bootable USB
Launch Rufus, from the windows start menu, accept the prompt and you should be greeted by the screen as shown on the right, ensure the USB is being recognised, you can tell this by the devices field being populated
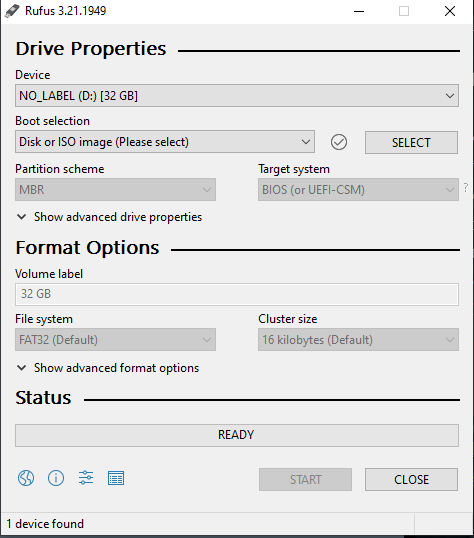

Ensure the Boot Selection is set to Disk or ISO image, and the click select, this will then bring your folder directory up where you can select the Proxmox ISO.
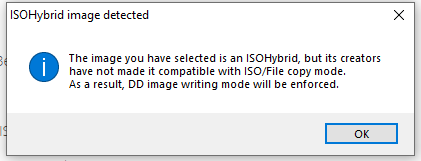
If you get the prompt like the one in the screenshoot, click ok to continue
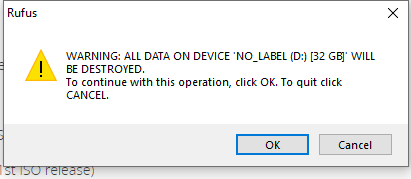
You will get a prompt telling you it will erase all the data on the usb and flash the ISO file onto the USB stick Click OK
Once it has finished flashing you should get a screen that states ready

You are now ready to install Proxmox onto your desired machine
Step Three: Installing Proxmox
The first step is to insert the USB stick you have created into the desired machine you want to have Proxmox on
The next step is to ensure the machine is booting from the USB stick you have created you can normally do this by clicking F12 as the machine is booting or going into the bios by pressing Del
Once you are on the Proxmox start page , you are ready to begin
Next chose where you want the install of Proxmox to reside
Now create a password for the root account, and choose the IP address where the Web interface will be accessed from
Next fill in the information it is asking for you, ensure you fill out:
The Email filled, hint you do not need to use a real email for it to work
once the setup has finished installing you can access the web gui from https://IPyouset:8006/ , change IPyouset to the IP you used for the setup