Welcome To How To Install Kali/Kali Purple
This page will go through how to install Kali Linux onto Proxmox
Setting the software up
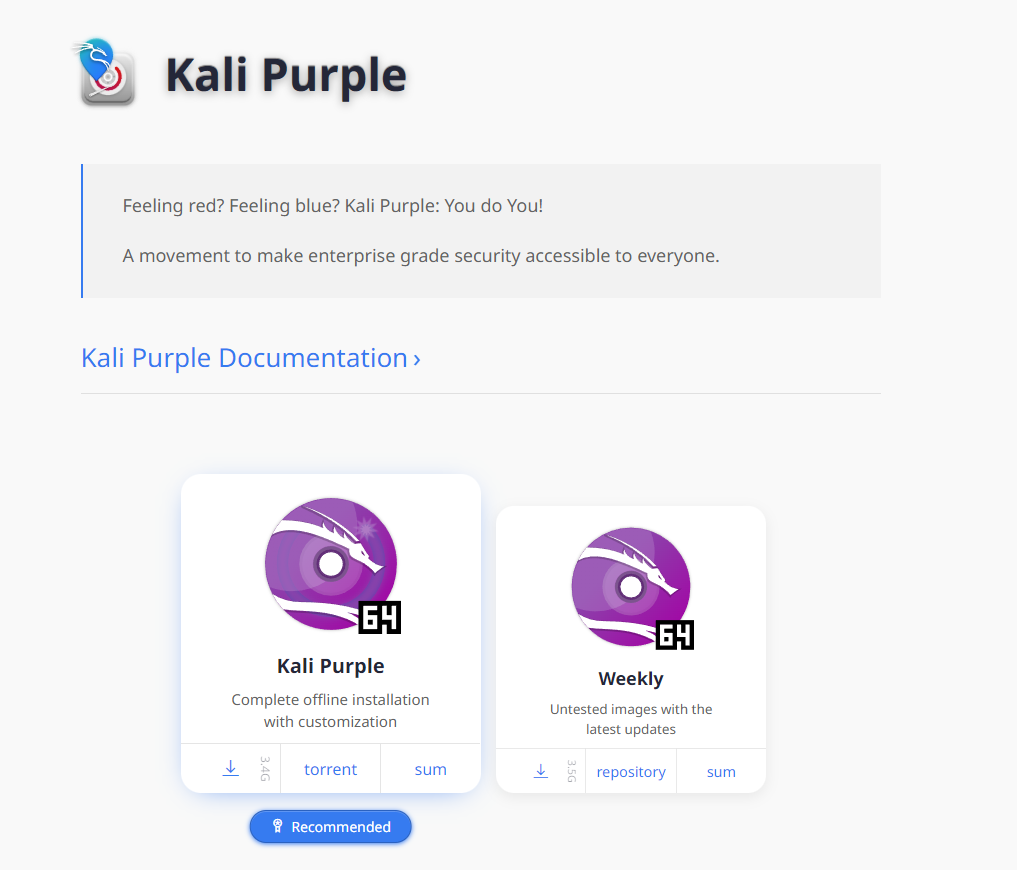
First you will need to go to https://www.kali.org/get-kali/#kali-installer-images and get either kali linux purple or standard kali linux, once you have the ISO file downloaded go to your Proxmox server or Virtualisation software.
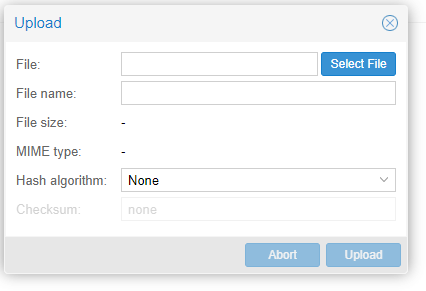
Once logged into your Proxmox machine click on the Local database, once in there click on ISO Images, then click upload, now click select file and then upload the ISO file we just downloaded
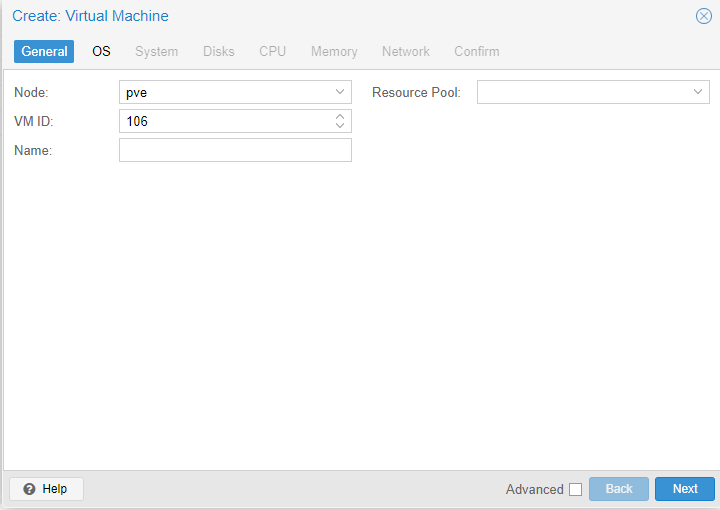
once uploaded we can now create our virtual machine, on the top right of the Proxmox dashboard you should see create VM, click on that and you should be taken to a screen similar to the screenshot, give the virtual machine a name if you want to have a space use “-” or “_” then click next
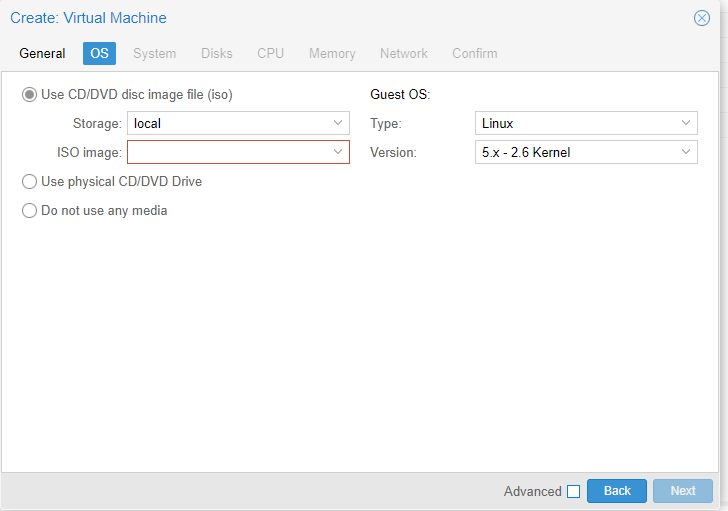
Now select the ISO file we uploaded using the drop down menu, then click next
You can leave all the settings on the next page at the default stage, then click next

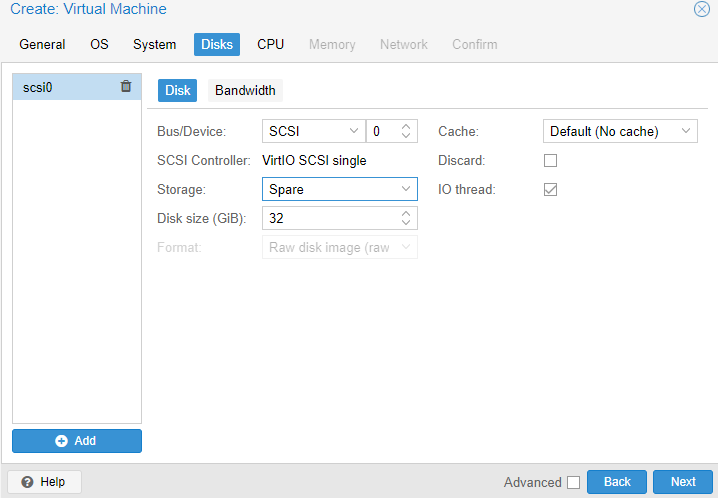
Select the storage from the drop down menu (it will give you a list of the ones available) and give it the capacity (atleast 20GB), then click next
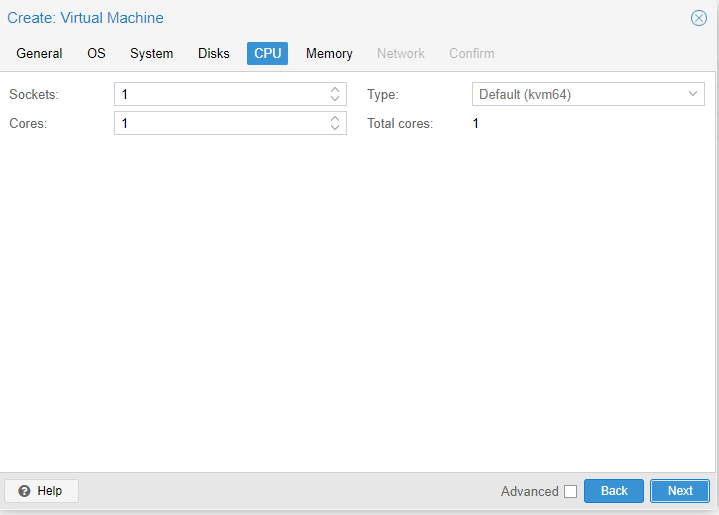
Select the amount of cores you want to give it I would suggest giving it 4 cores if you have the room if not you can use 2 cores , then click next
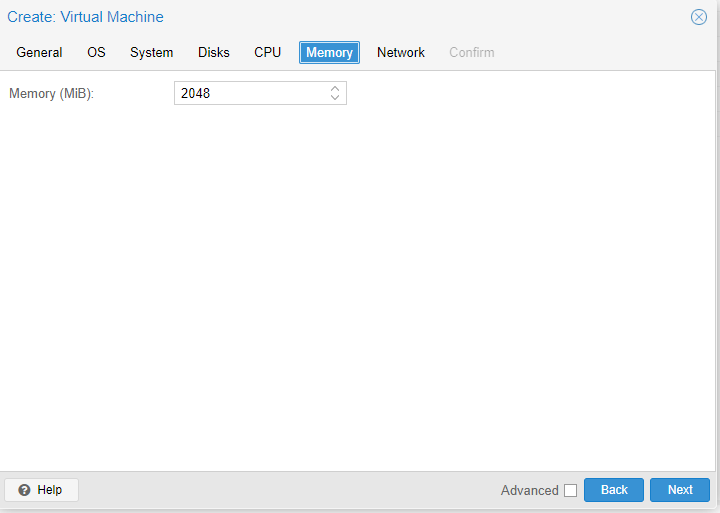
Select the amount of memory you want to give it I would suggest giving it 8192MIB but 4096MIB will work , then click next
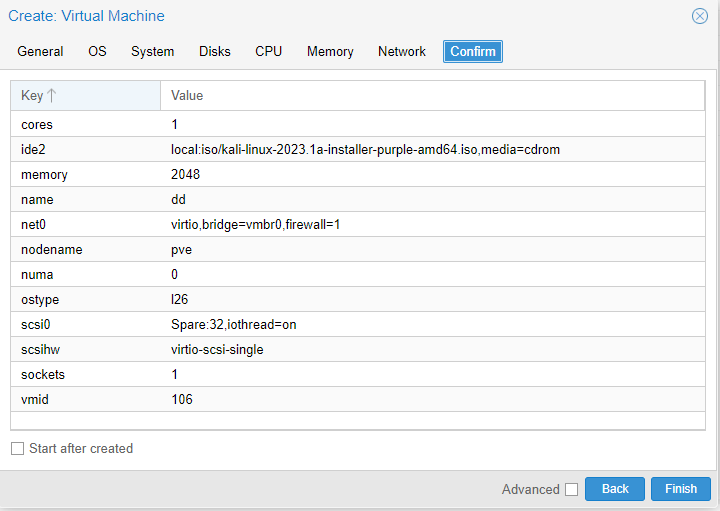
You have finished creating the VM, tick the box to start the machine after it is created then click finish. the VM will then be listed in the node you selected. you can go to there then click into it and then go console to access it.